
How to Make an Ashtray
Are you a cannabis enthusiast looking for a unique and personalized smoking accessory? Why not create your own custom logo ashtray? Not only does it add a touch of personality to your smoking experience, but it also allows you to showcase your creativity and craftsmanship. In this step-by-step guide, we’ll walk you through the process of creating a personalized logo ashtray from scratch.
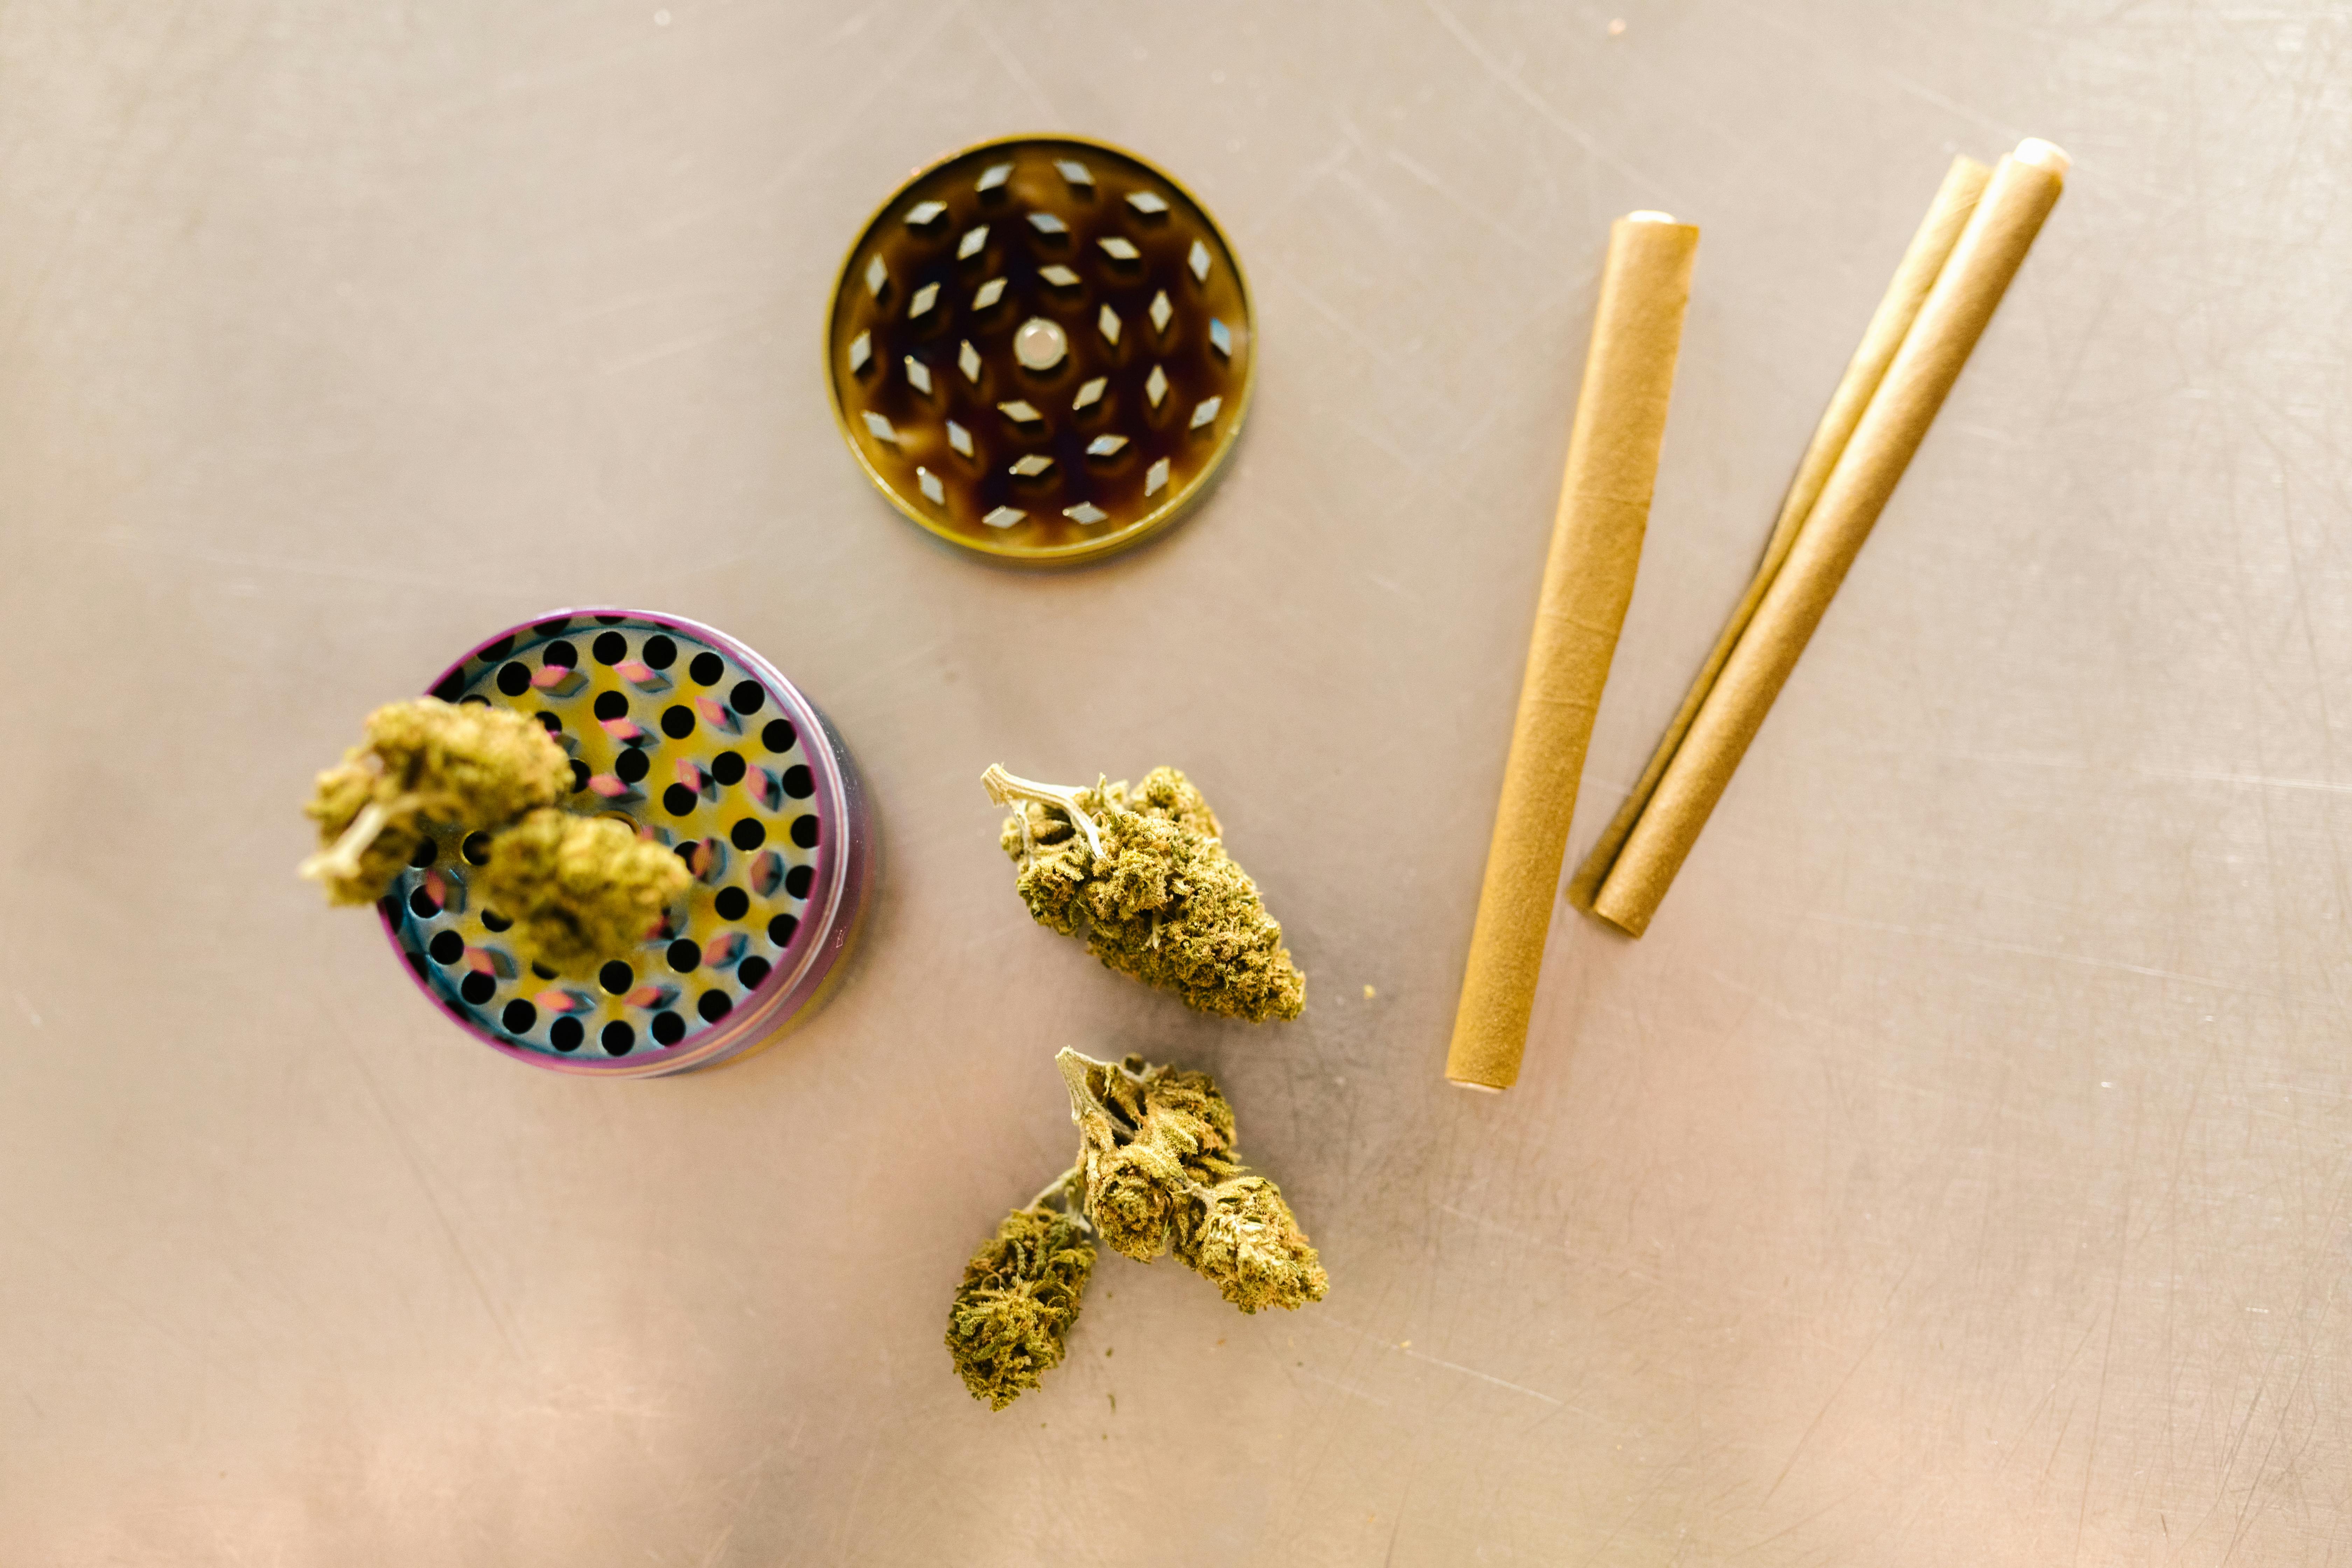
Step 1: Gather Your Materials
Before diving into the crafting process, make sure you have all the necessary materials on hand:
– Clay or ceramic material
– Rolling pin
– Cookie cutter or stencil
– Modelling tools (optional)
– Sandpaper
– Kiln (for ceramic clay) or oven (for air-dry clay)
– Paints or glaze
– Brushes
– Clear gloss spray (optional)
– Your personalized logo stencil (print it out or create one yourself)
Step 2: Prepare the Clay
Start by preparing your clay. If you’re using ceramic clay, follow the instructions to condition the clay and remove any air bubbles. If you’re working with air-dry clay, make sure it’s soft and pliable.
Step 3: Roll Out the Clay
Using a rolling pin, roll out the clay to your desired thickness. Aim for a thickness of around 0.5 cm or slightly thicker, as thinner clay may break easily.
Step 4: Cut Out Your Ashtray Shape
Take your cookie cutter or stencil and carefully cut out the shape of your ashtray from the rolled-out clay. You can choose traditional circular shapes or get creative with unique designs like squares, triangles, or even custom shapes.
Step 5: Add Personalized Logo
Now it’s time to incorporate your personalized logo into the ashtray. Place your logo stencil on top of the clay shape and press it gently. If you’re confident with your artistic skills, you can also use modelling tools to carve your logo directly into the clay.
Step 6: Smooth the Edges
Using your fingers or a modelling tool, carefully smooth out the edges of the ashtray to give it a neat and polished appearance. Pay special attention to the area around the logo to ensure it stands out.
Step 7: Let it Dry
If you’re using air-dry clay, let your ashtray dry completely according to the manufacturer’s instructions. If you’re using ceramic clay, let it dry for a few hours or overnight before proceeding to the next step.
Step 8: Sand and Paint (or Glaze)
Once your clay has dried, use fine-grit sandpaper to gently sand the surface of the ashtray. This step helps smoothen any imperfections and creates a better surface for paint or glaze to adhere to.
Next, it’s time to show off your artistic skills. Paint your ashtray using your chosen colors or apply glaze for a glossy finish. Get creative with different designs, patterns, or even gradients. The choice is yours!
Step 9: Bake or Reveal
If you’re using air-dry clay, your personalized logo ashtray is complete! Allow it to air dry completely and it’s ready to use. However, if you’re working with ceramic clay, you’ll need to bake your ashtray in a kiln according to the manufacturer’s instructions. This step ensures durability and makes it safe for regular use.
Step 10: Optional Finishing Touches
If you want to give your ashtray an extra layer of protection or a glossy finish, you can apply a clear gloss spray. This step not only enhances the appearance but also helps protect the paint or glaze from chipping or fading over time.
And there you have it! Your very own personalized logo ashtray, custom-made just for you. Enjoy smoking in style with a unique and one-of-a-kind smoking accessory that reflects your personality and creativity.
Remember, this DIY tutorial is suitable for beginners and allows you to experiment with different shapes, logos, and designs. So go ahead, get crafty, and elevate your smoking experience with a handmade ashtray that truly stands out!
Keywords: how to make an ashtray, step-by-step guide on making personalized logo ashtrays, unique custom logo ashtray tutorial, DIY custom logo smoke accessories: creating your own ashtrays, easy ashtray crafting with custom logos: a beginner’s guide, the art of making personalized logo ashtrays: a DIY tutorial, crafting custom logo smoke accessories: how to make an ashtray from scratch, creating custom logo ashtrays: a comprehensive DIY guide, personalized smoke accessory branding: designing custom logo ashtrays, making custom logo ashtrays: an in-depth tutorial for smoke enthusiasts, step-by-step instructions for crafting custom logo ashtrays at home.